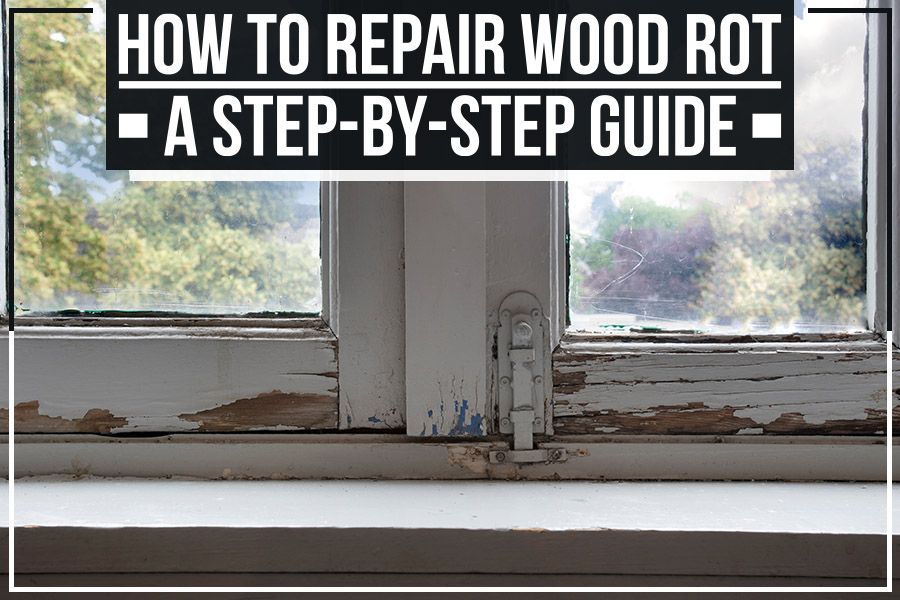
If you've spotted wood rot in your home, it's vital to take action and repair the damage as soon as possible. Wood rot can lead to various problems, including water damage, insect infestation, and even structural failure.
This blog post will tackle the steps to repairing wood rot and provide a helpful guide for you to follow. Keep scrolling to learn more!
Step 1: Dry the Wood
Before chipping into it, let the wood dry out completely. This will help prevent the spread of rot and make repairs easier. The wood might take weeks to dry if you're working on an outdoor project. To speed up the process, wrap the area with clear sheet plastic, with enough space for airflow to reach the rotten wood.
Step 2: Remove the Rot
This step will accelerate the drying process. Grab a screwdriver, paint scraper, or five-in-one tool to carve out the rotted wood. Try to remove as much of the decayed wood as possible since it's no longer structurally sound. If the wood still needs drying, use a heat gun to speed up the process.
Step 3: Apply the Consolidant
A consolidant is a surface application coat to provide protection & strength to a material – in this case, wood – and it typically comes in two parts. Use a wooden stick and plastic container to mix the two, then reach for a chip brush. You'll need the brush to apply the consolidant heavily onto the wood.
However, ditch the brush and pour directly into the wood voids if the material is cracked or pitted. Then leave the consolidant for 30 minutes to work its magic.
After that's done, let the consolidant sit for two to three more hours to cure. It might take longer if you're working in colder temperatures.
Step 4: Wood Filler
Suppose you're using an epoxy wood filler. In that case, it typically features a Part A and a Part B. Grab some latex gloves and mix the two in a plastic container to harden.
Once that's complete, apply the filler to the missing wood area using a putty knife. Be liberal with it, as you can always sand down the excess filler later.
Make sure to push the filler in firmly and sculpt it to the shape of the missing section. The shape should be slightly larger than the original.
Step 5: Sanding
Once the filler has rested at least four hours, reach for your rough #100 sandpaper. Then sand down the filler to its original size using a sander or sanding block. After that, switch to #220 sandpaper and sand down the filler until smooth.
Step 6: Customize
After cleaning off the dust with a tack cloth, feel free to paint or stain the wood to match the rest of the piece better. Or, if you prefer, you can leave the wood as is.
Wrapping Up
That was our go-to guide on how to repair wood rot. Before you start, however, remember that while DIY projects can be fun and cost-effective, it's best to leave the job to the professionals.
If you need help with your wood rot repair or any other painting and staining projects, don't hesitate to reach out to us at Two Coats Painting & Staining, serving Suwanee, GA. We have the necessary expertise and experience to get the job done right for both residential & commercial clients, and we're always happy to help!